From a new staff member to a paid, reported payroll.
A practical walkthrough for CloudPay.vu. Follow the chapters in order for a clean first setup, then reuse the payroll and reporting flow each pay cycle.
Before you begin
Sign in, choose your company from the upper-left switcher, and confirm that you are working in the intended company. Amounts in this guide use the Vanuatu Vatu format: VT.
Workflow at a glance
1 · Create staff
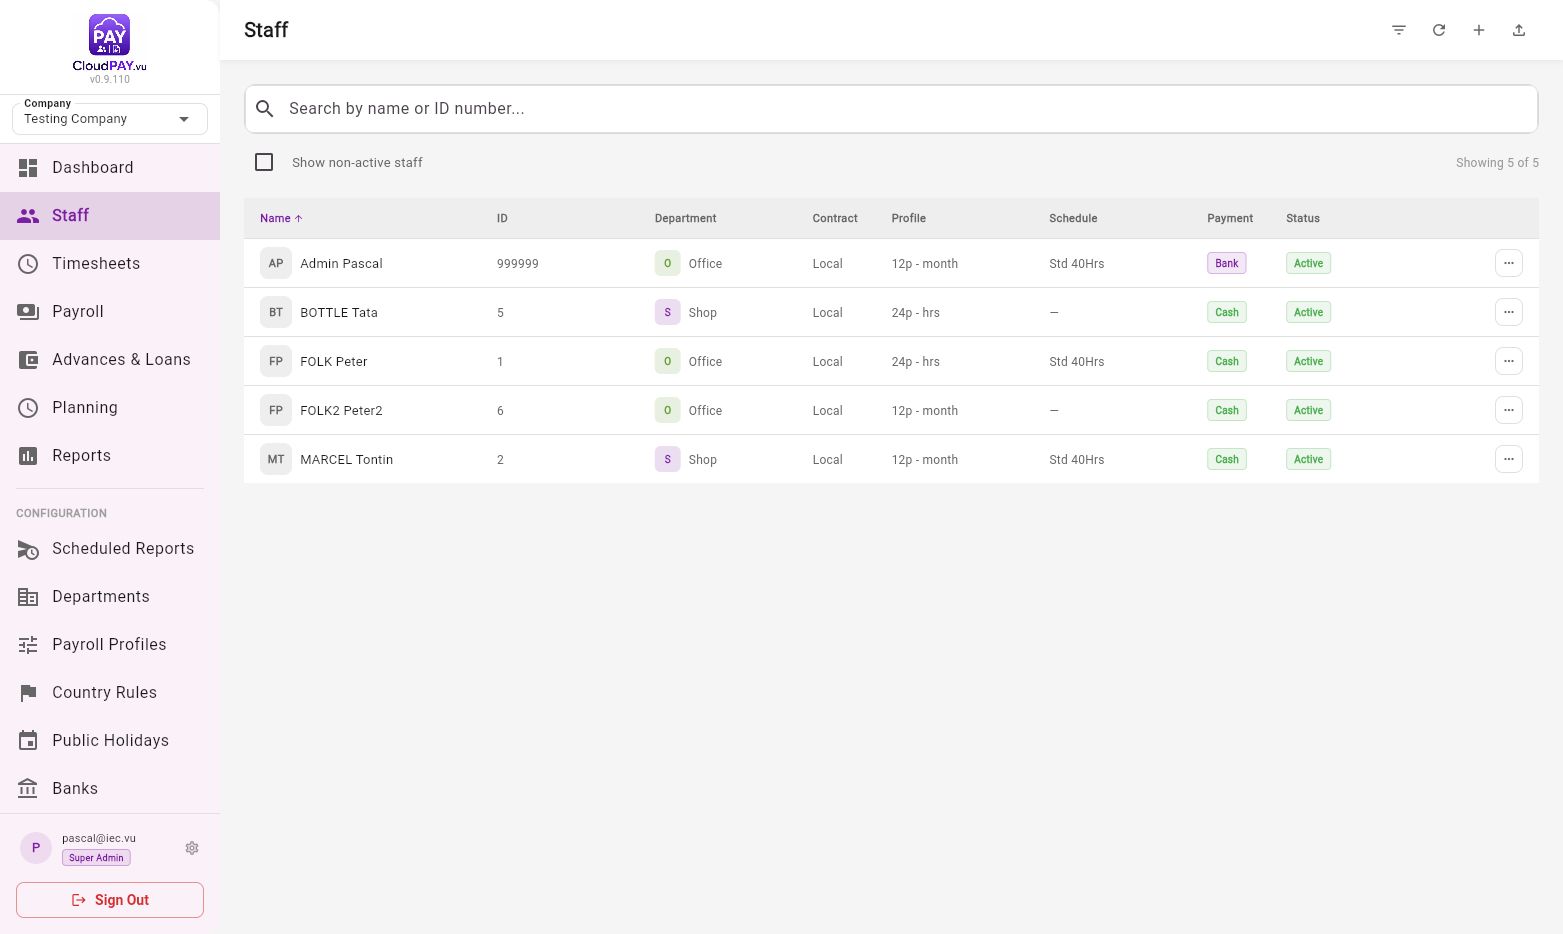
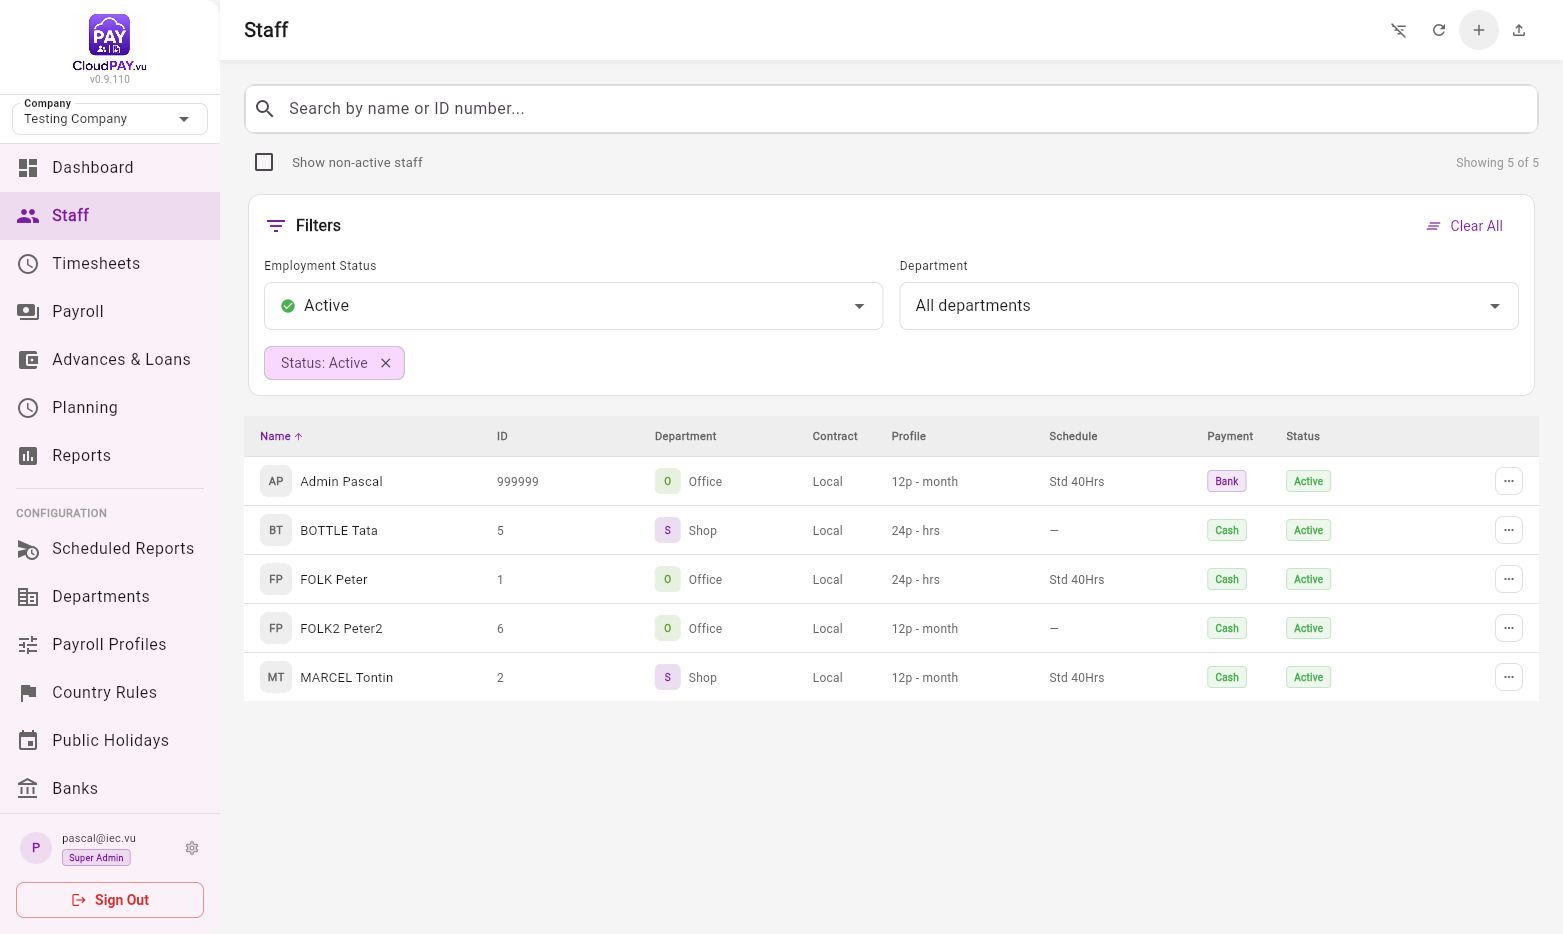
Staff records are the source of truth for department, employment status, pay method, payroll profile, rates, VNPF and leave entitlement.
- Open Staff and choose Add Staff.
- Enter the identity fields (family name, given name, ID number and contact details), then choose a department.
- Set employment date/status and payment method.
- Select an hourly profile for clocking-based pay or a monthly profile for a fixed salary.
- Enter the hourly or monthly rate, VNPF number and leave settings, then save. Re-open the card to confirm the profile and department.
2 · Create a department
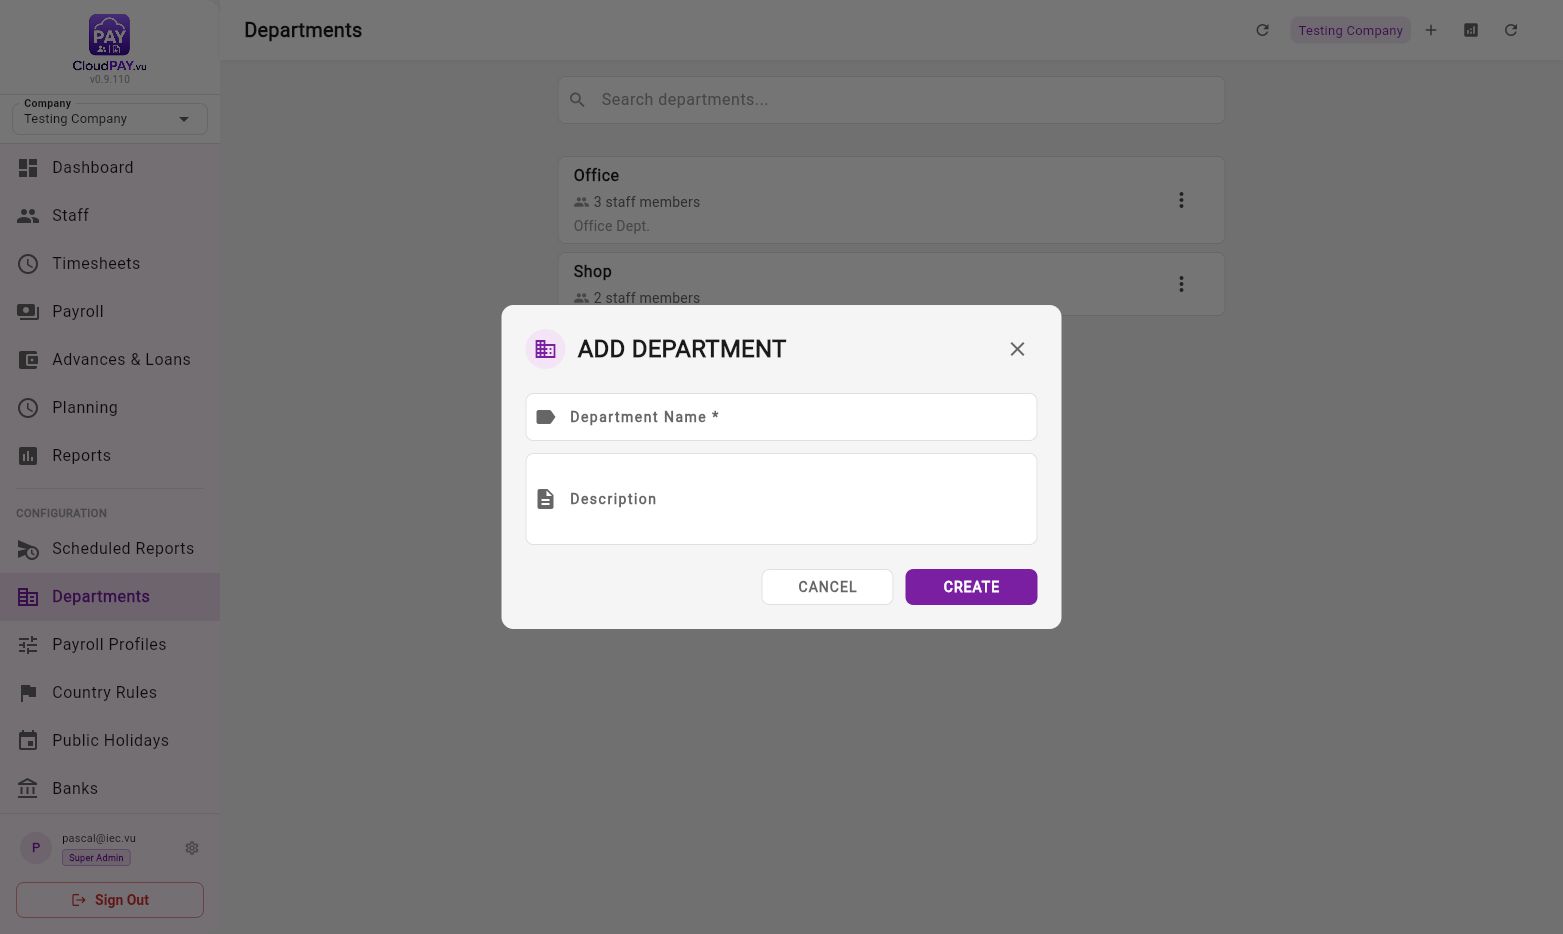
- Open Departments in the sidebar.
- Choose the + button.
- Enter the department name and optional description, then select Create.
- Assign staff from their staff record and use the three-dot menu to maintain existing departments.
3 · Create a schedule
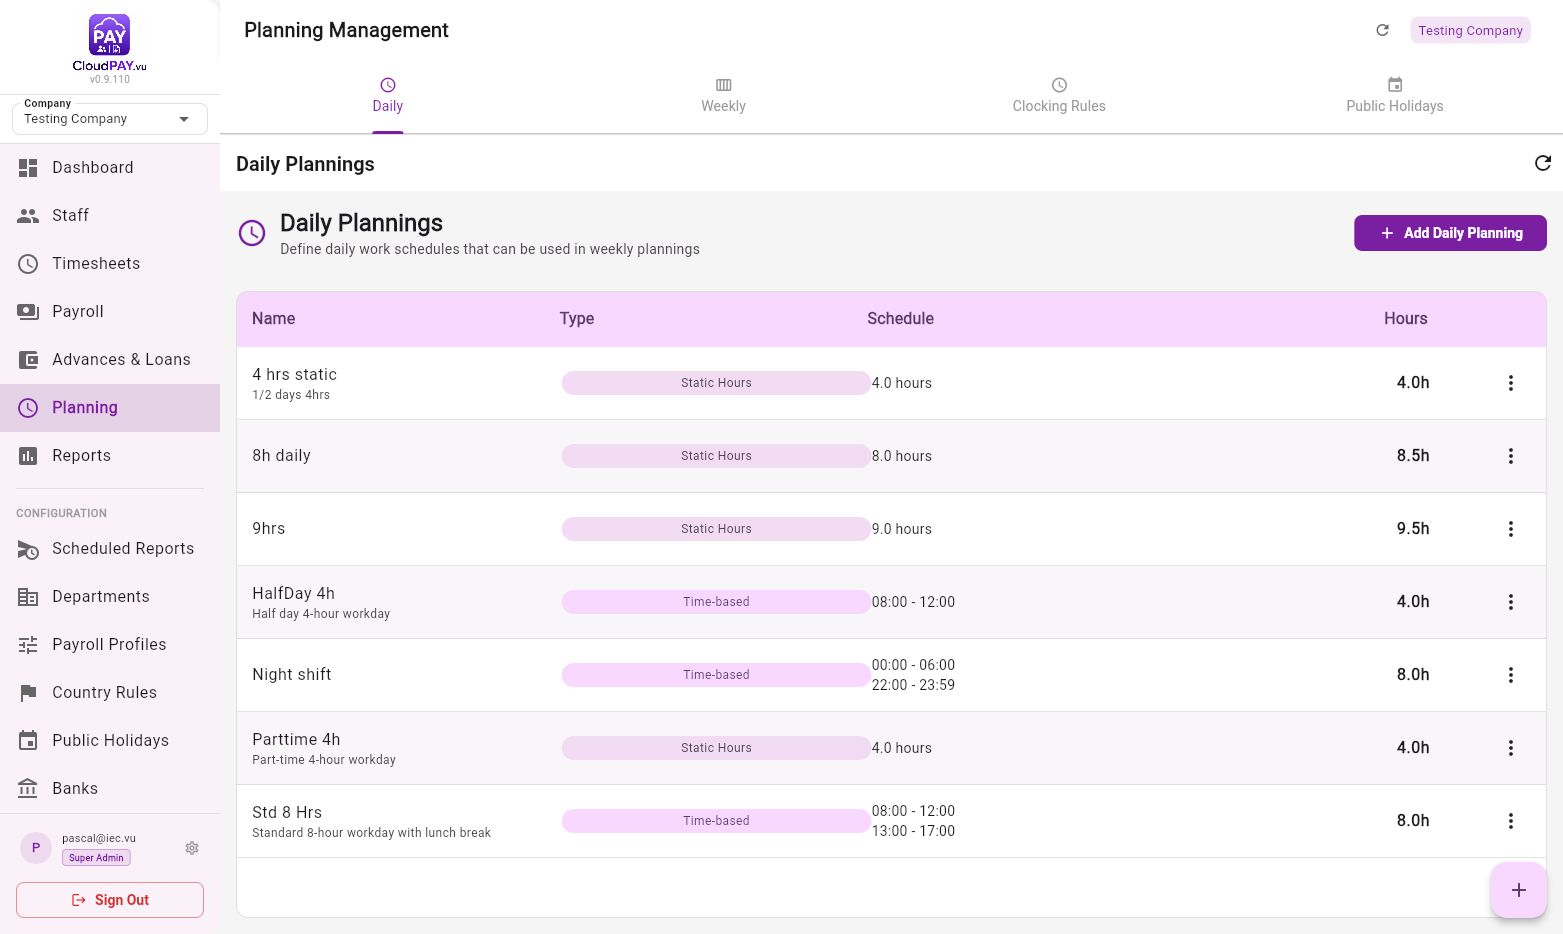
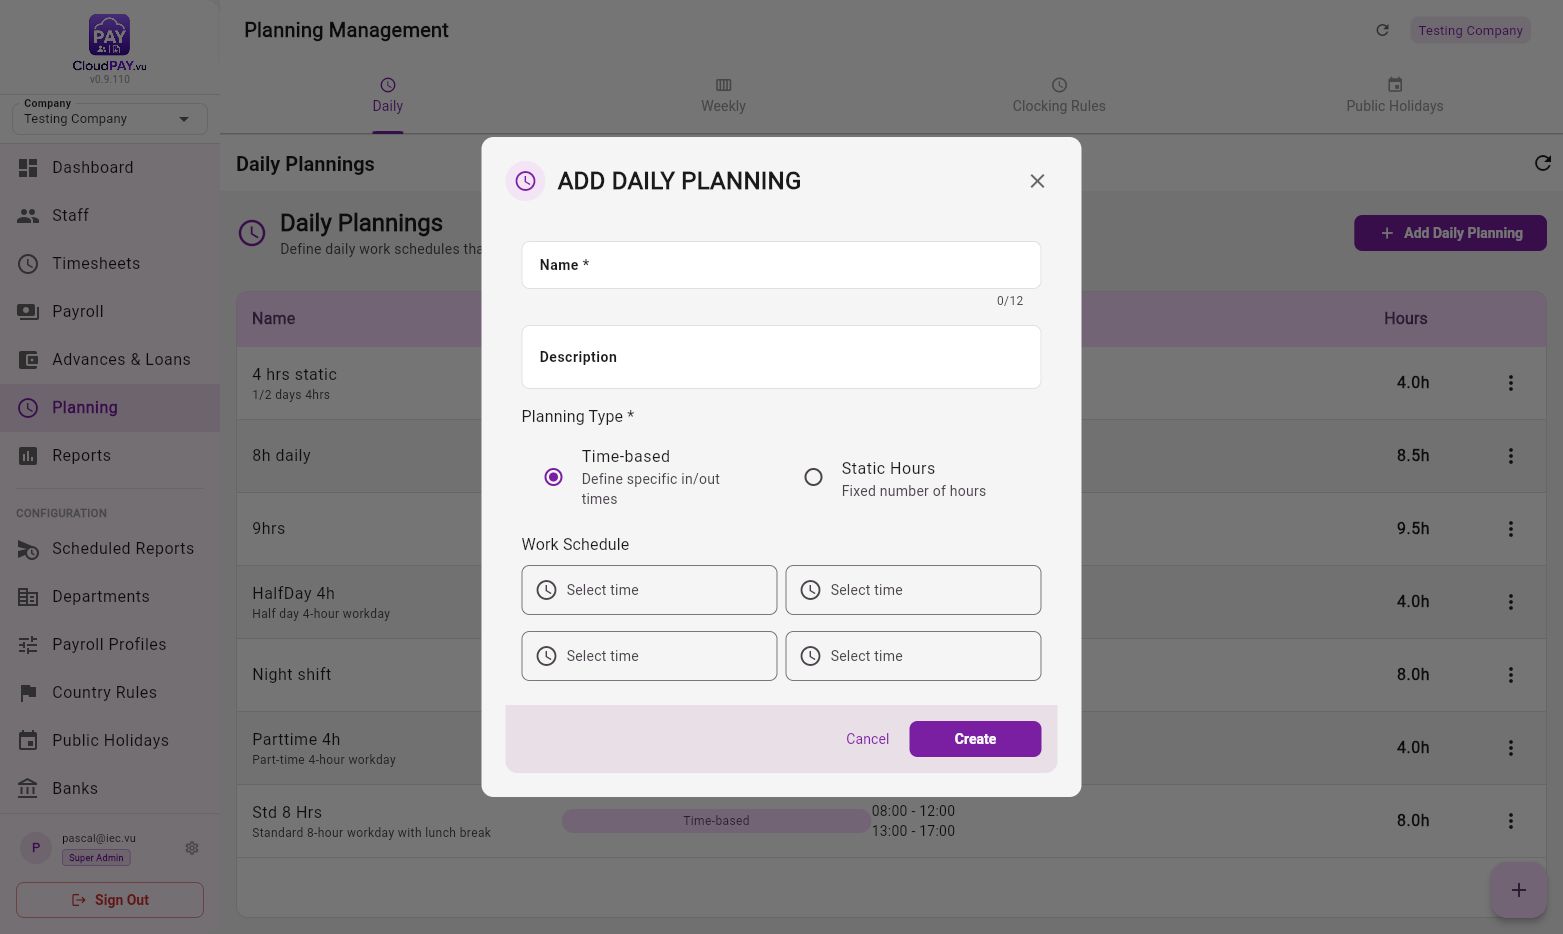
- Open Planning and stay on the Daily tab.
- Select Add Daily Planning, enter a name and optional description.
- Choose Time-based for one or two in/out pairs, or Static Hours when only a fixed number of paid hours is needed.
- Save the daily schedule, then use the Weekly tab to combine days and assign the plan to staff.
4 · Configure payroll profiles
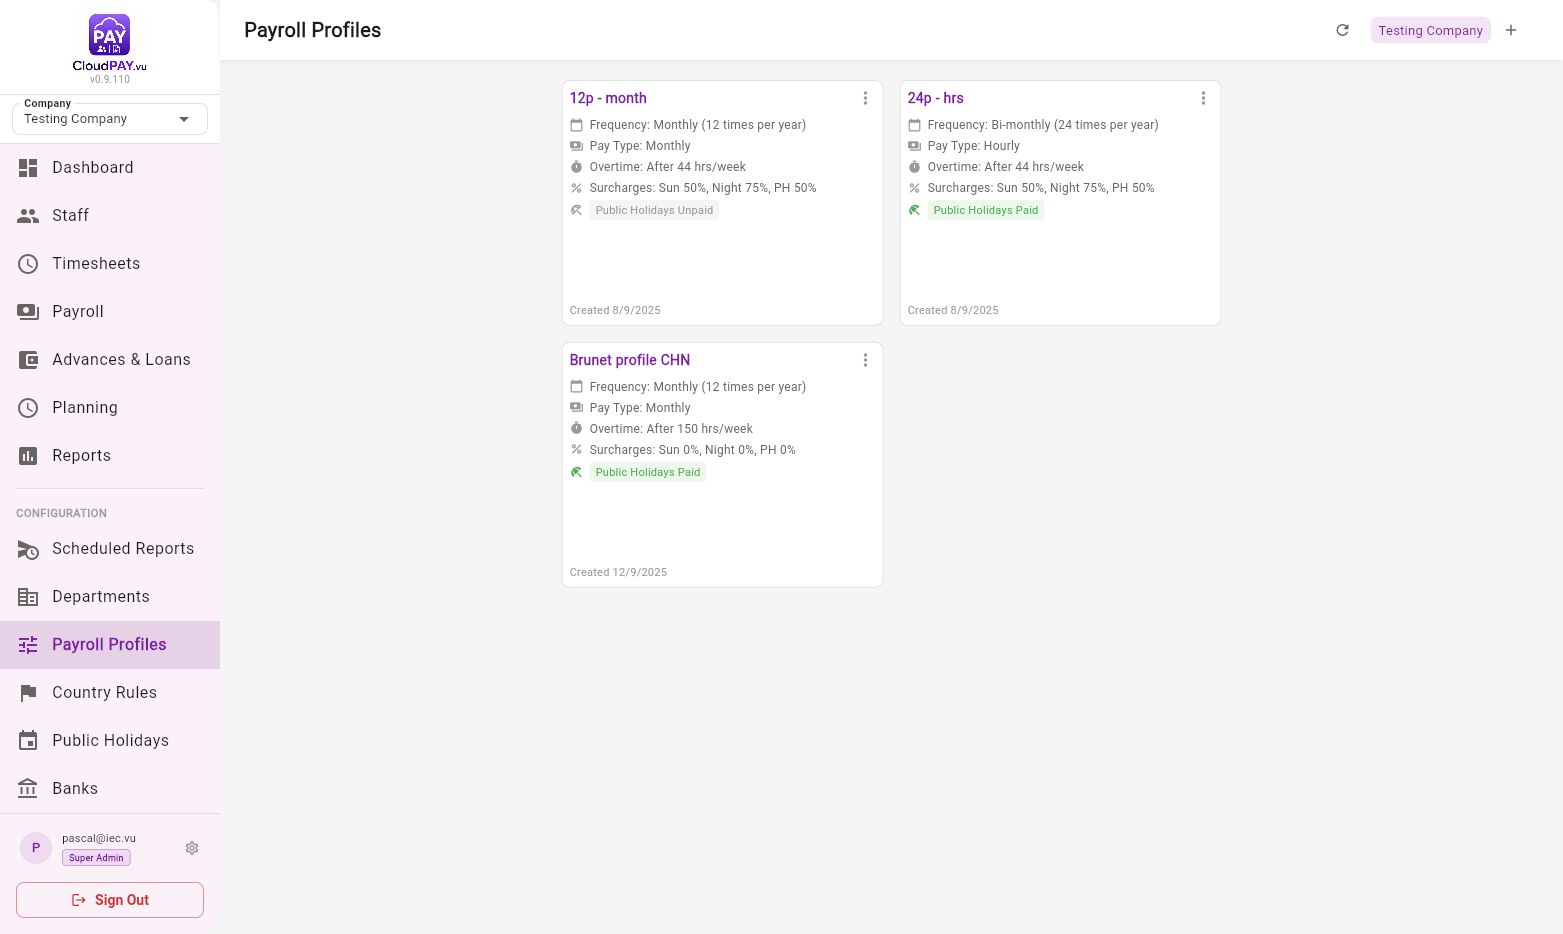
Open Payroll Profiles before running payroll. A profile controls frequency, pay structure, overtime thresholds, Sunday/night/public-holiday rules and leave settings.
5 · Run an hourly payroll
- Open Payroll, select the employee, and choose New Payroll.
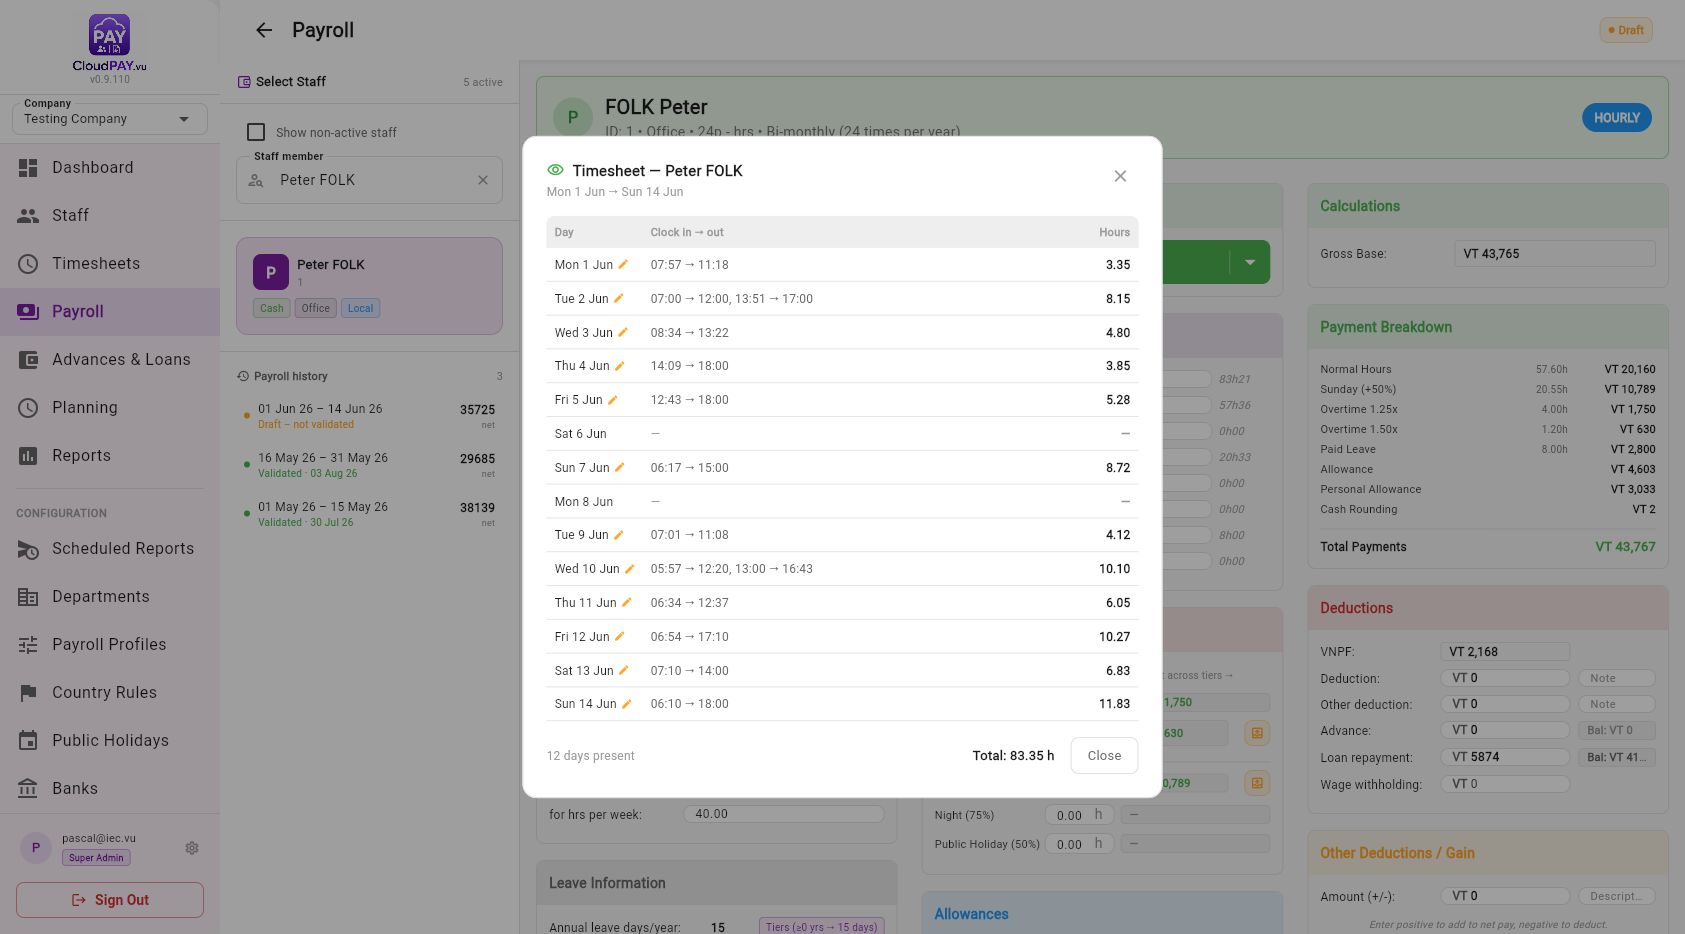
- Confirm CloudPay proposes the next contiguous period. Choose the arrow beside Call Timesheet, then View timesheet.
- Check paired clock-in/out values, present days, overtime, Sunday/night/holiday hours and missing-clock warnings.
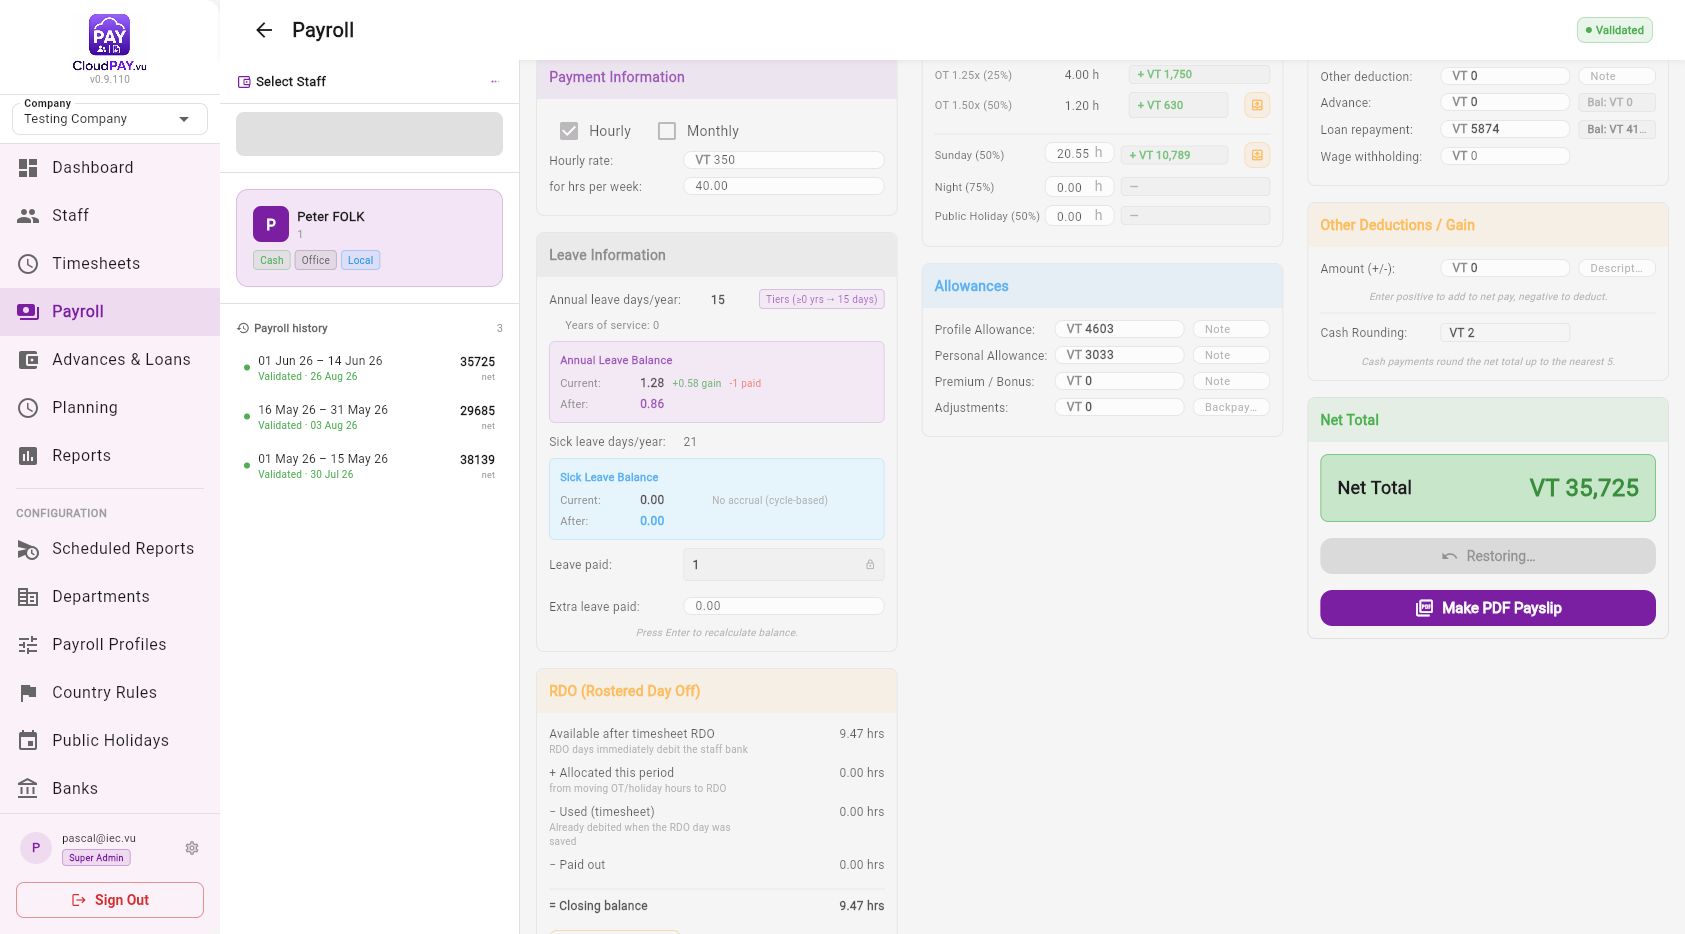
- Review the payment breakdown, VNPF, deductions, leave and RDO values.
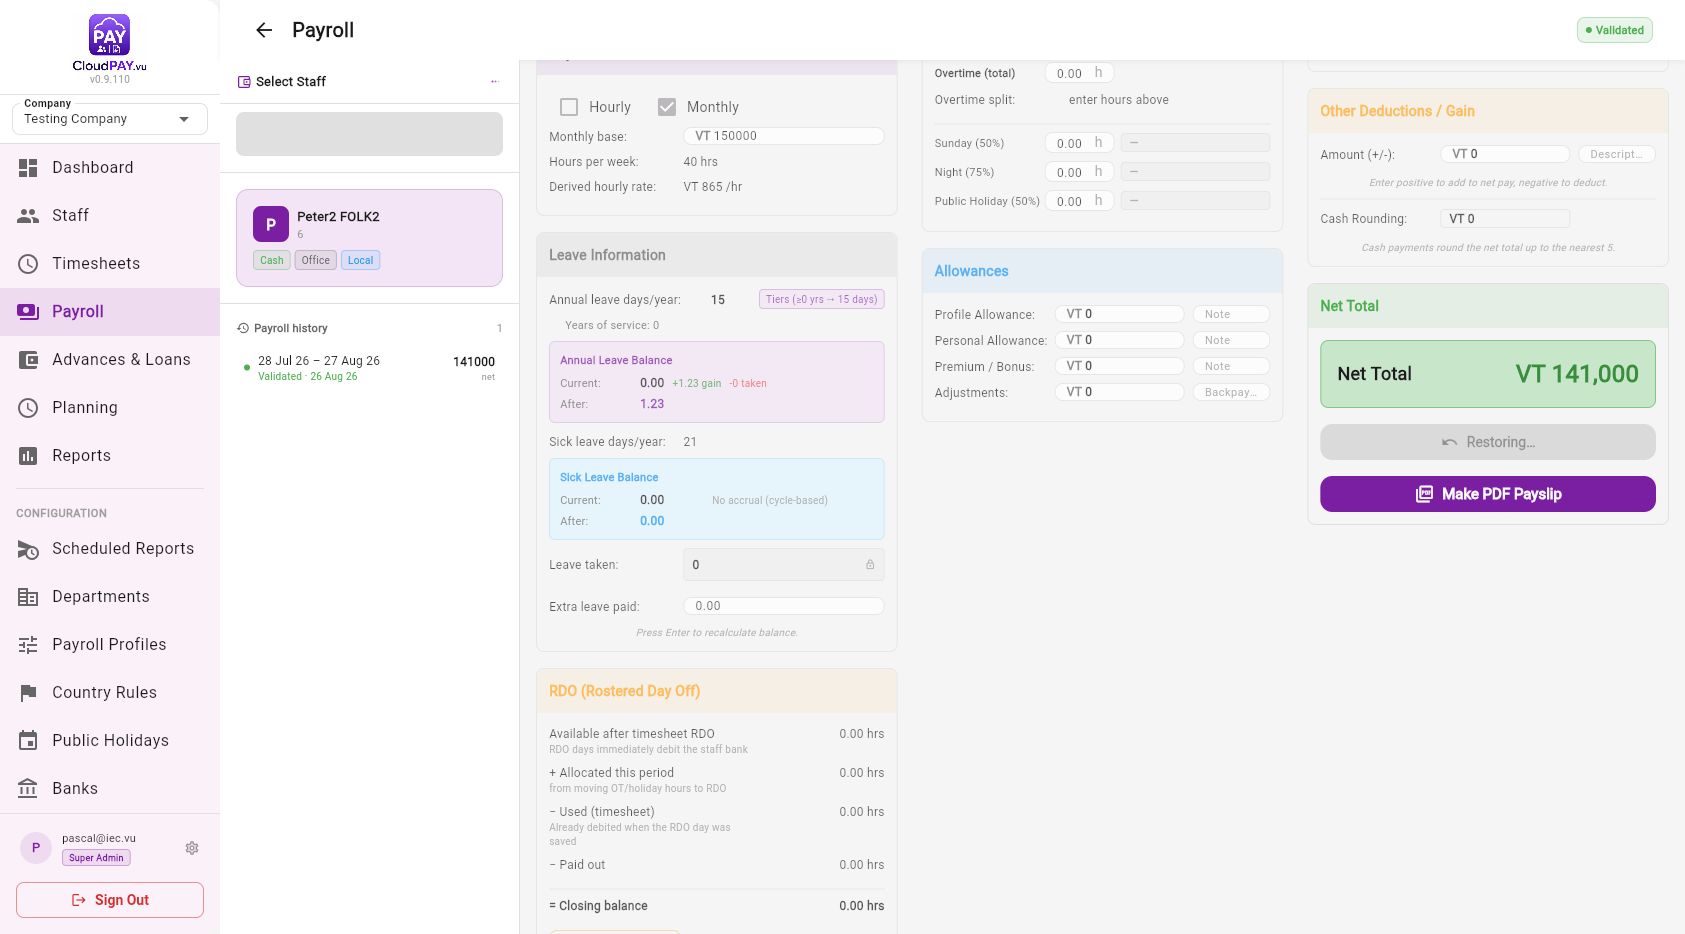
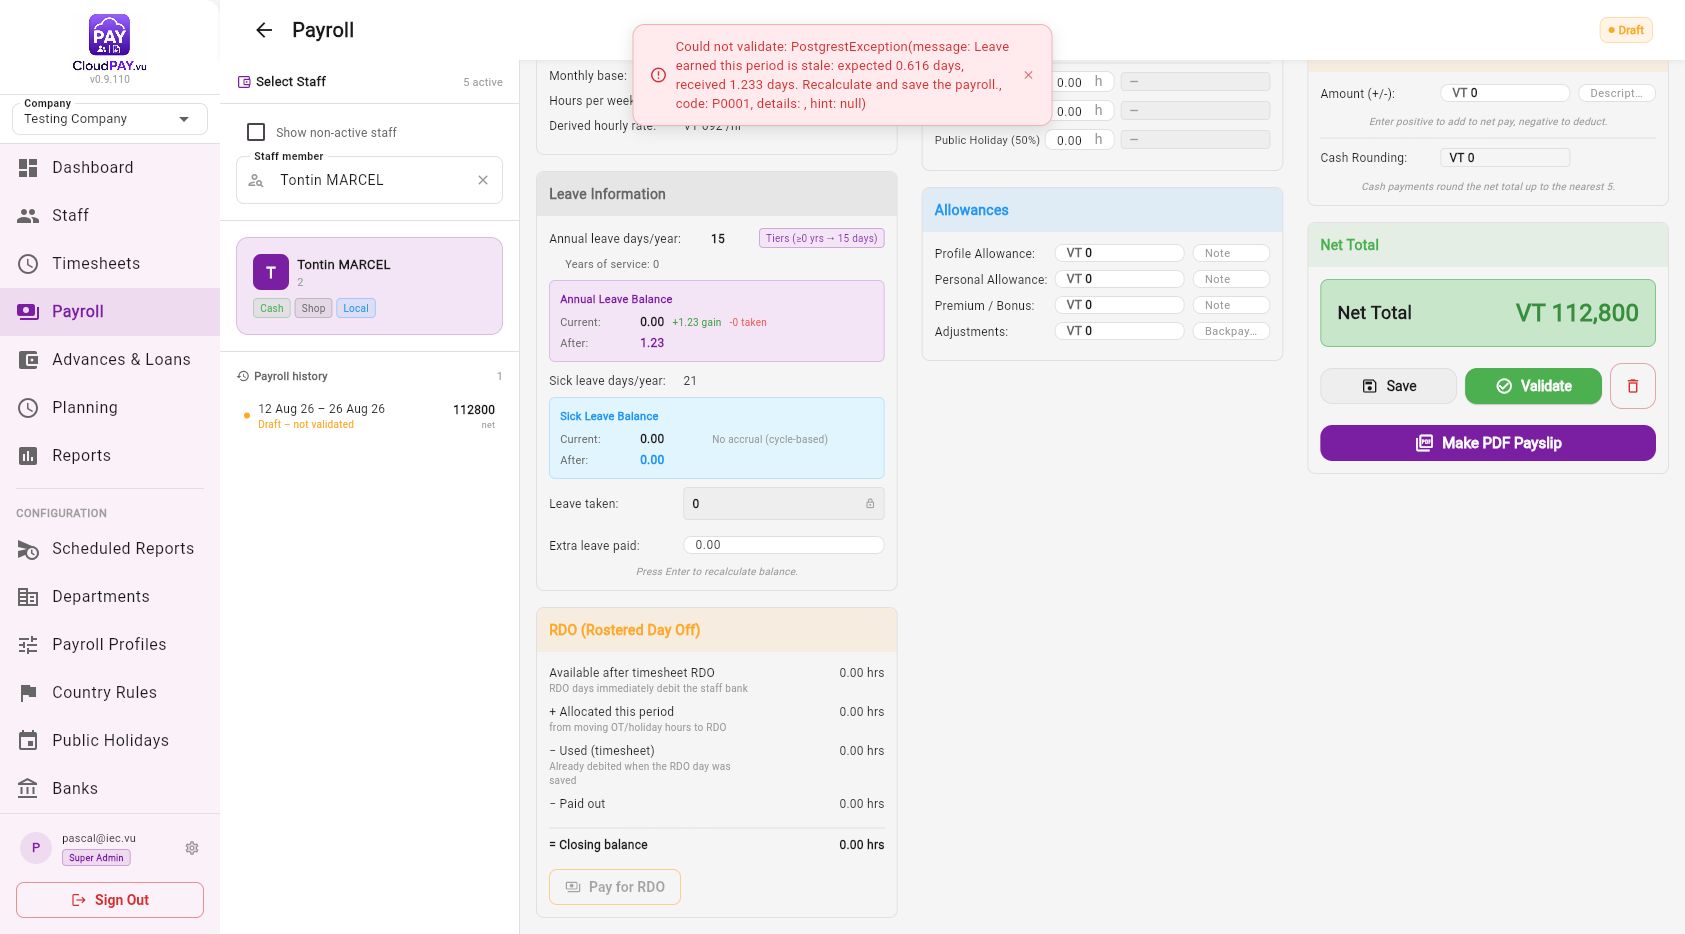
- Select Save, then Validate and confirm. Validation freezes the snapshot for reprinting and applies the balance movements.
6 · Run a monthly payroll without clockings
- Open the monthly employee and select New Payroll.
- CloudPay displays a no-timesheet warning. This is expected for a fixed-salary employee; the payroll is created from current values.
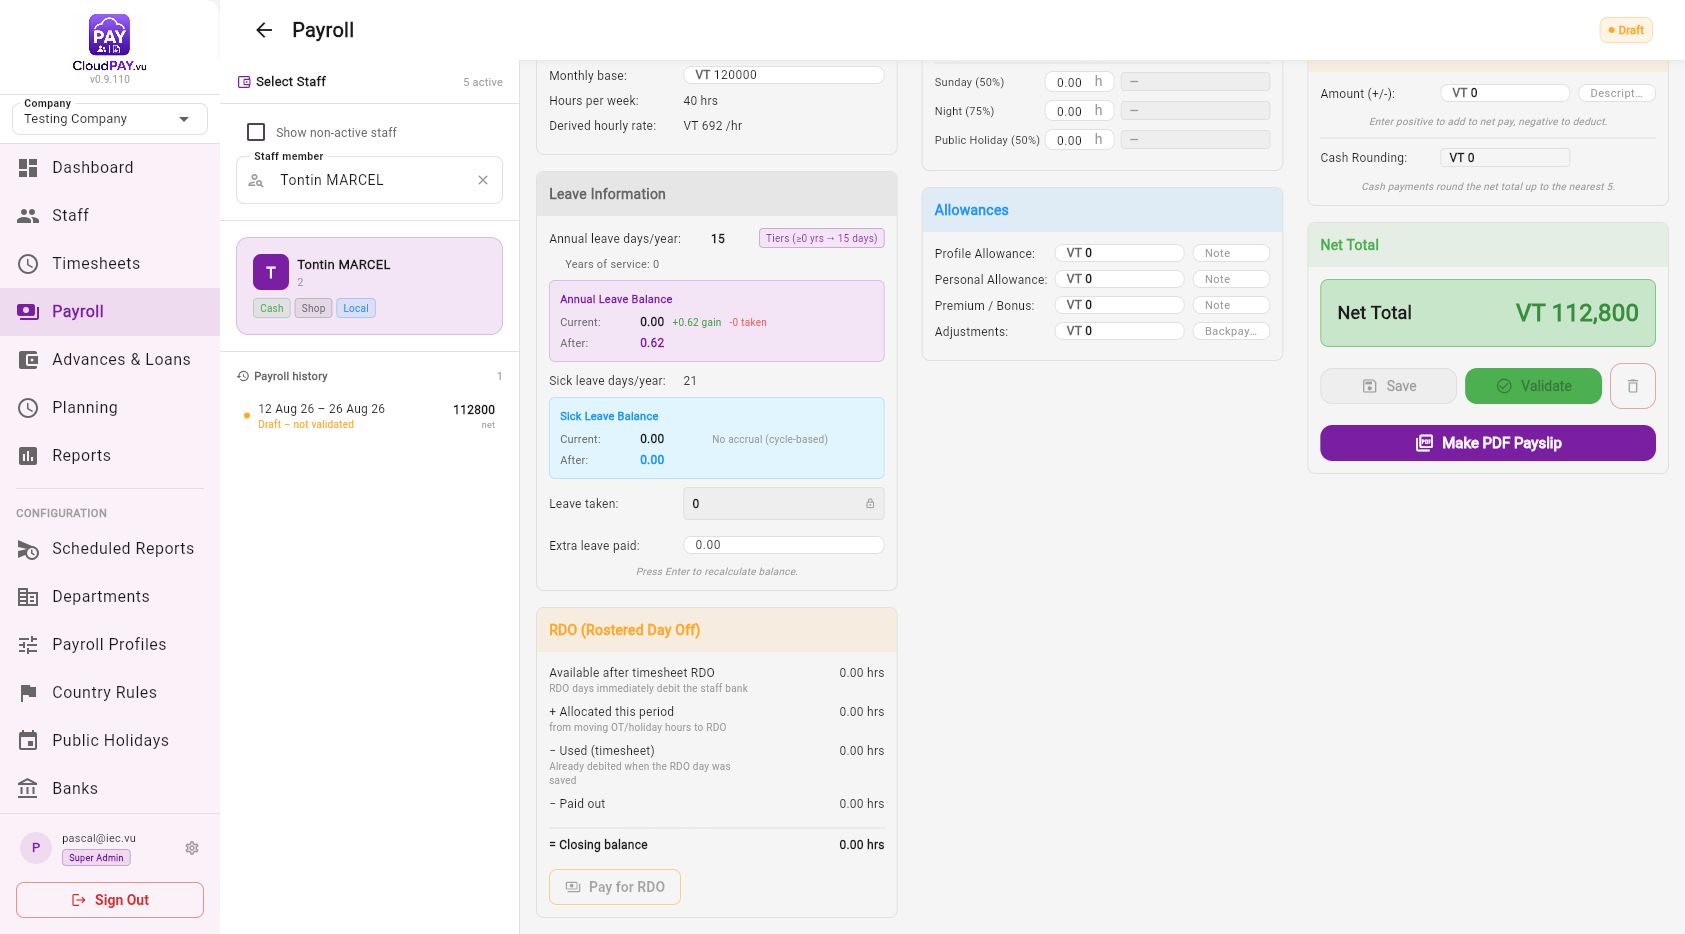
- Confirm the monthly base, period, VNPF and deductions.
- Select Save, then Validate and confirm.
7 · Make the final (last) payroll
- Open the next period and choose Resigned payroll, Dismissed payroll, or Retirement payroll.
- Review the final annual-leave payout. Remaining annual leave is paid; sick leave is not paid in the final payout.
- Save the draft, select Validate, and read the explicit final-payroll confirmation.
- Confirm the staff card is non-active and annual leave is zero. The employee remains available in history/non-active views.
8 · Produce payroll reports
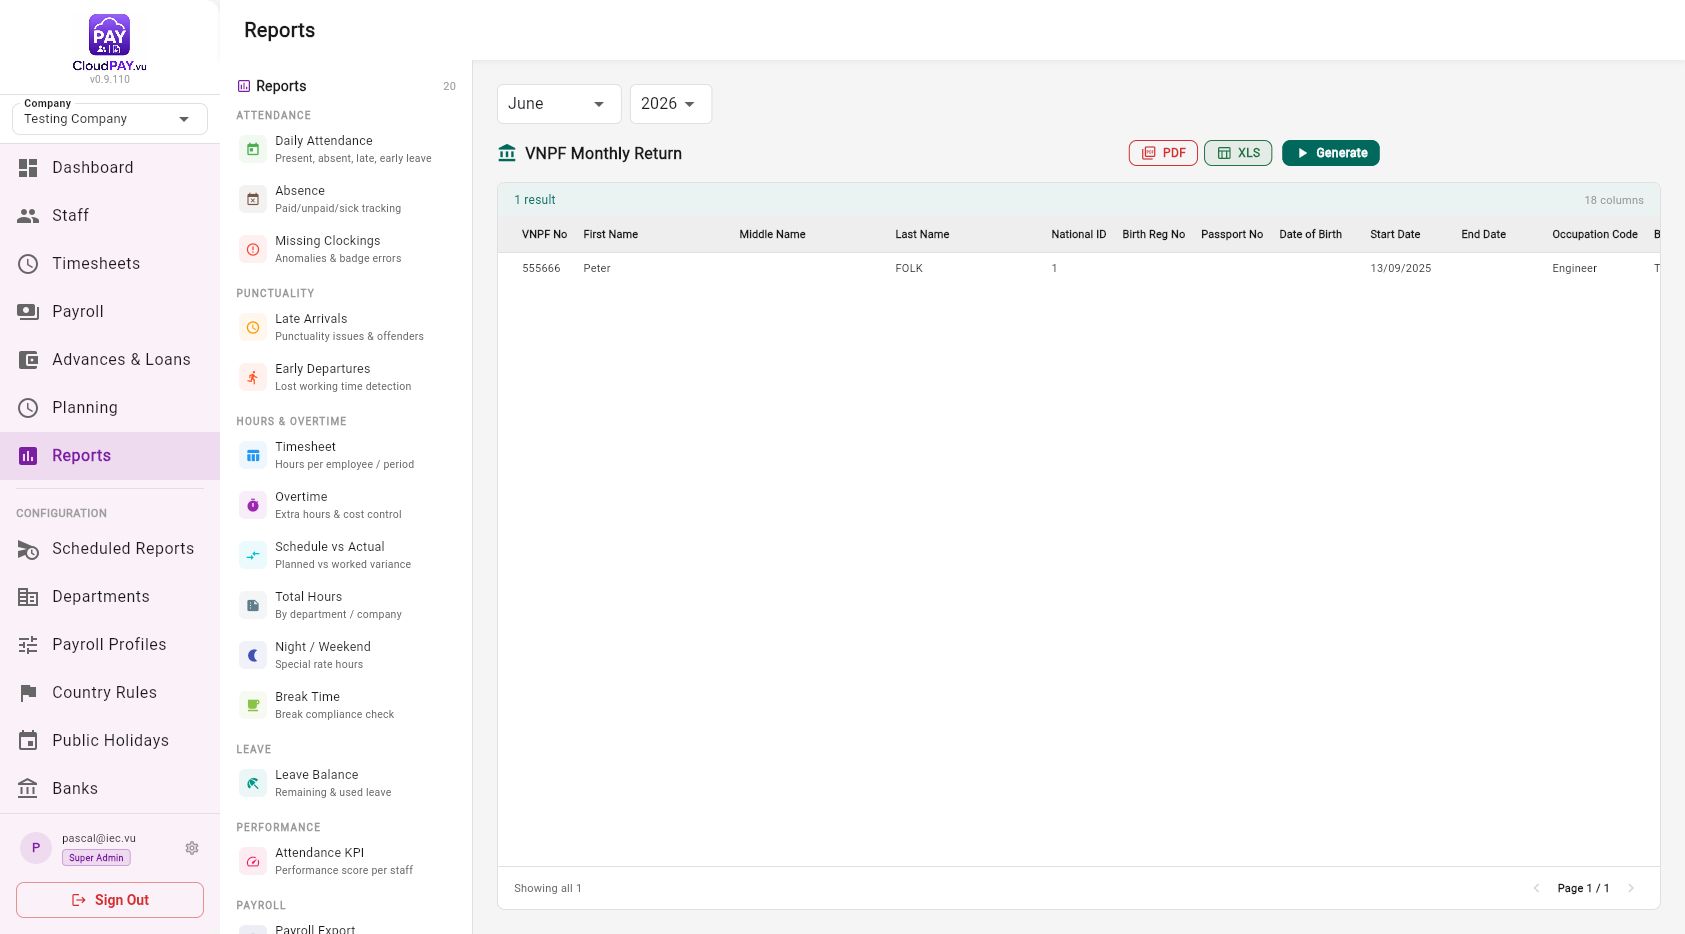
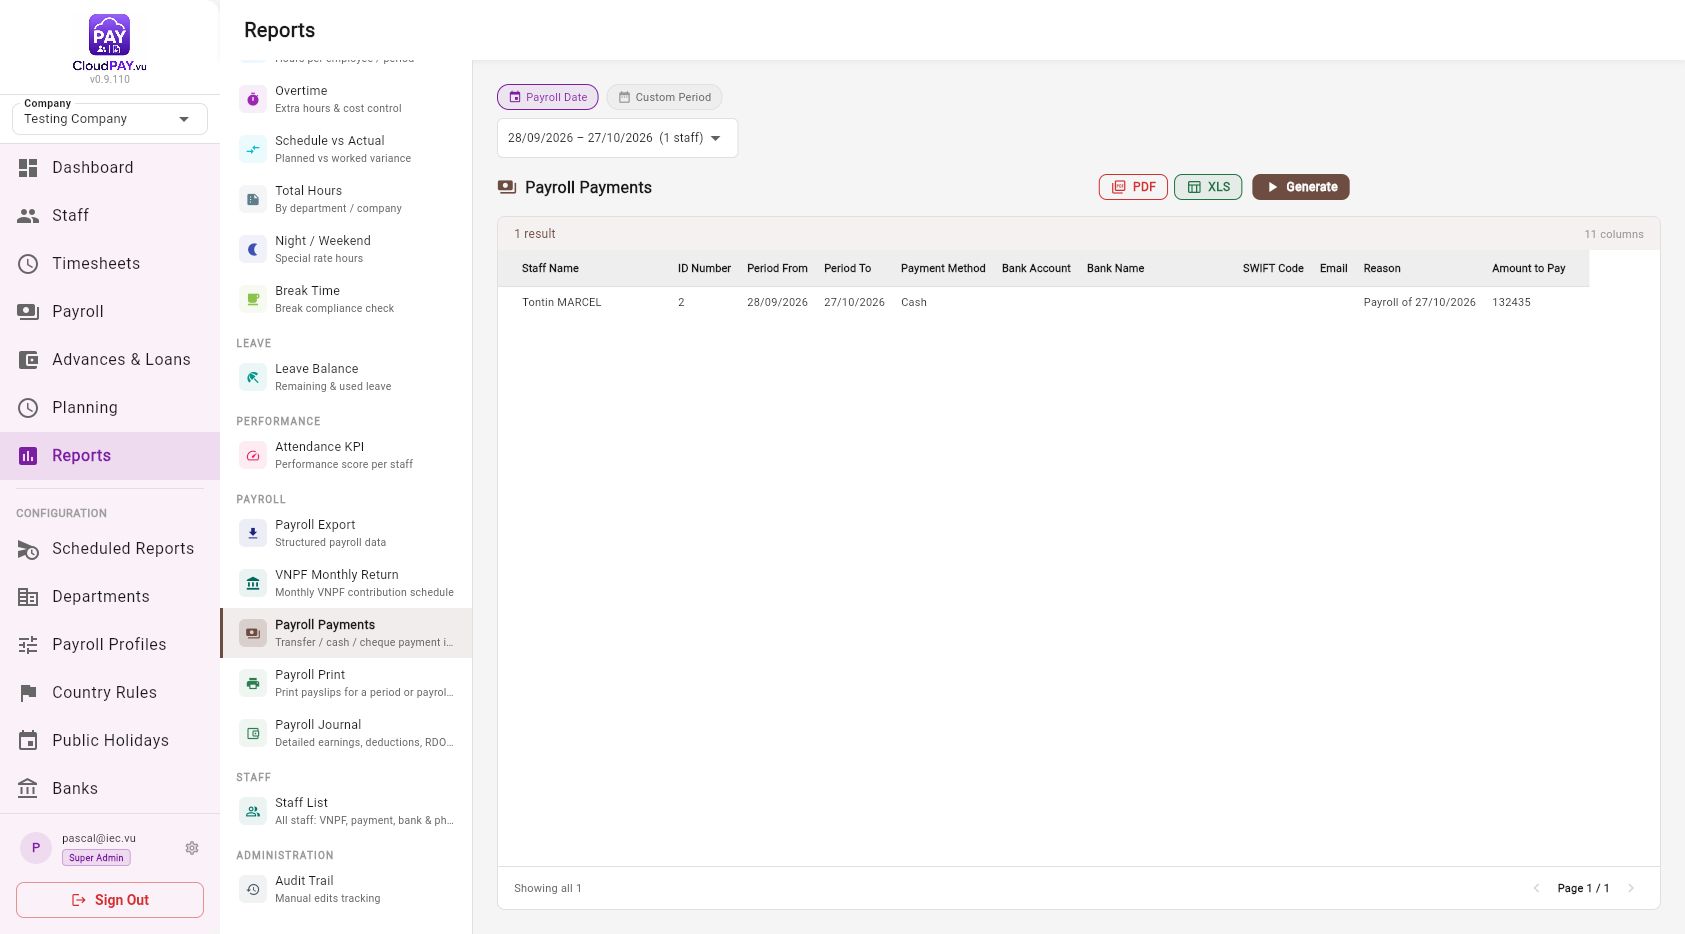
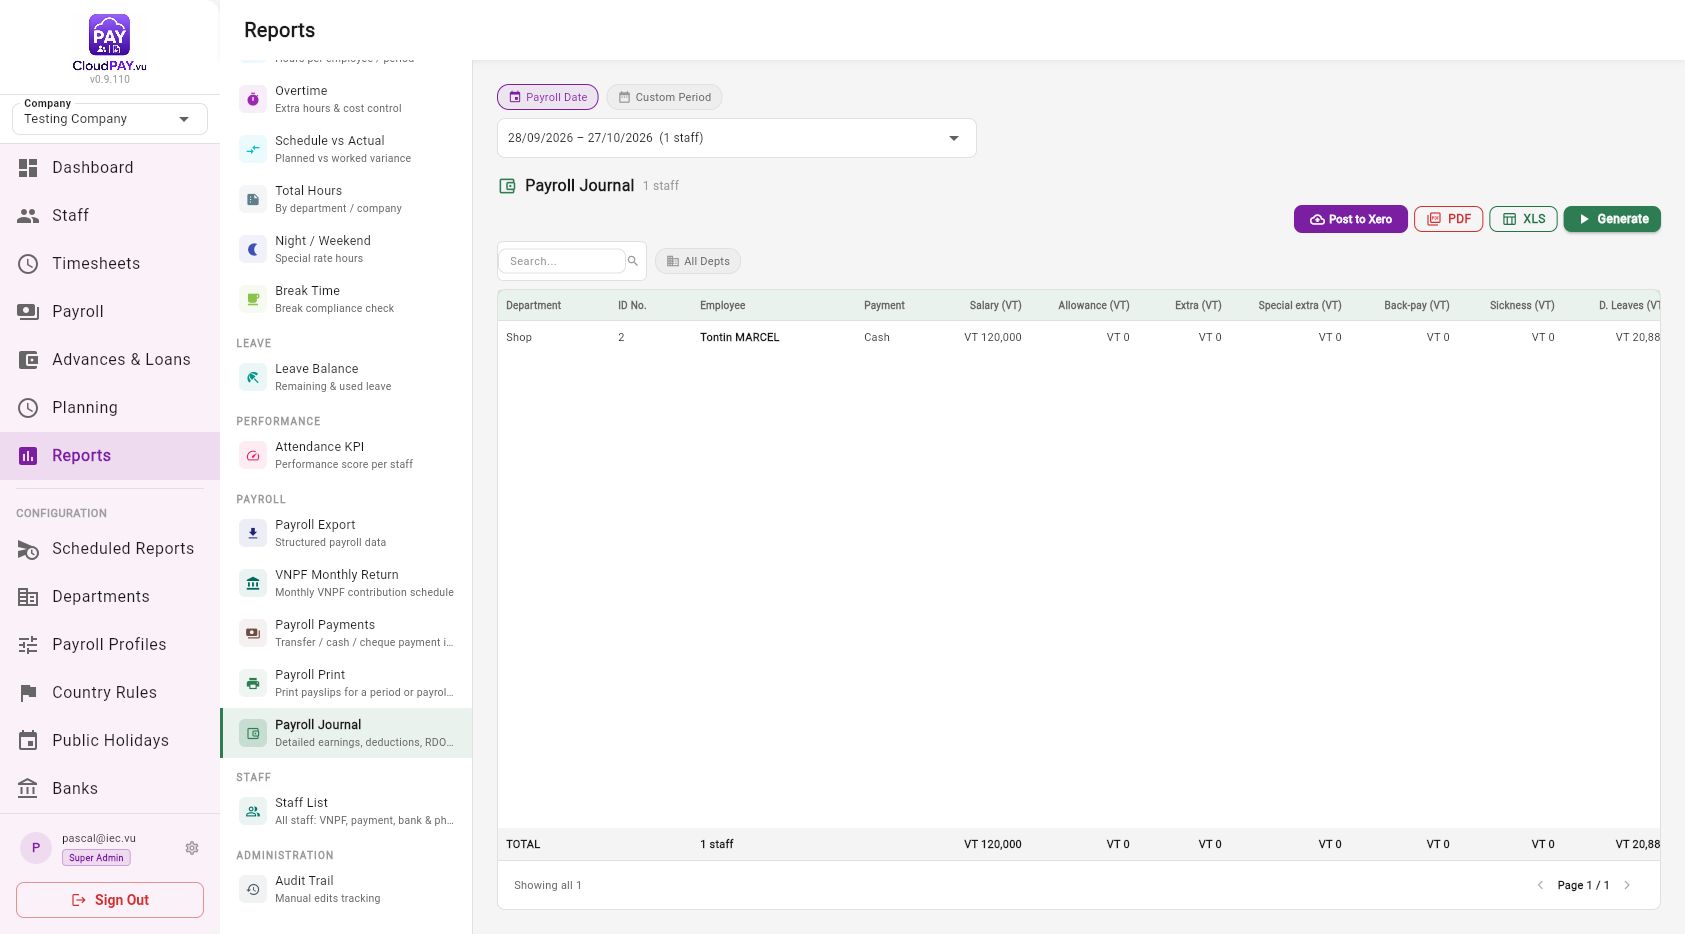
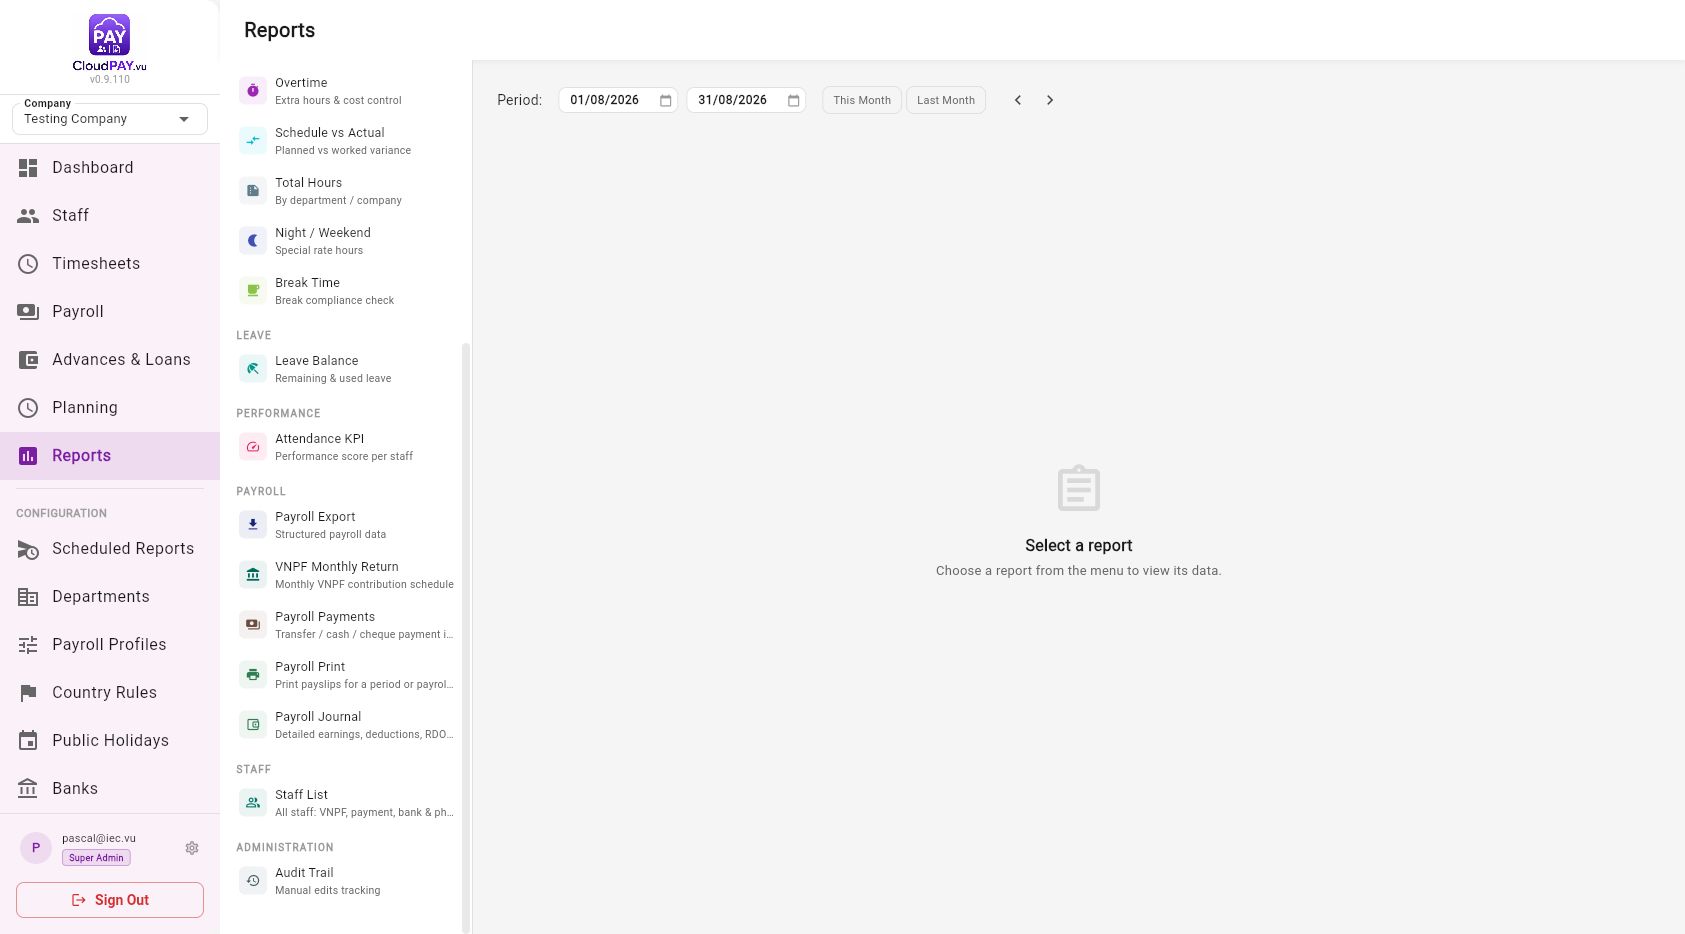
Open Reports, scroll to the Payroll group, choose the period selector, and use Generate. Prefer the exact payroll-date period for frozen payroll records. PDF and XLS exports are available where shown.
9 · Before you finish
After every validation, save the payslip and export the reports required by your payroll process. Keep the payroll period, payment report and journal period aligned.